Easy Ice Cream Bread in 2 Ingredients
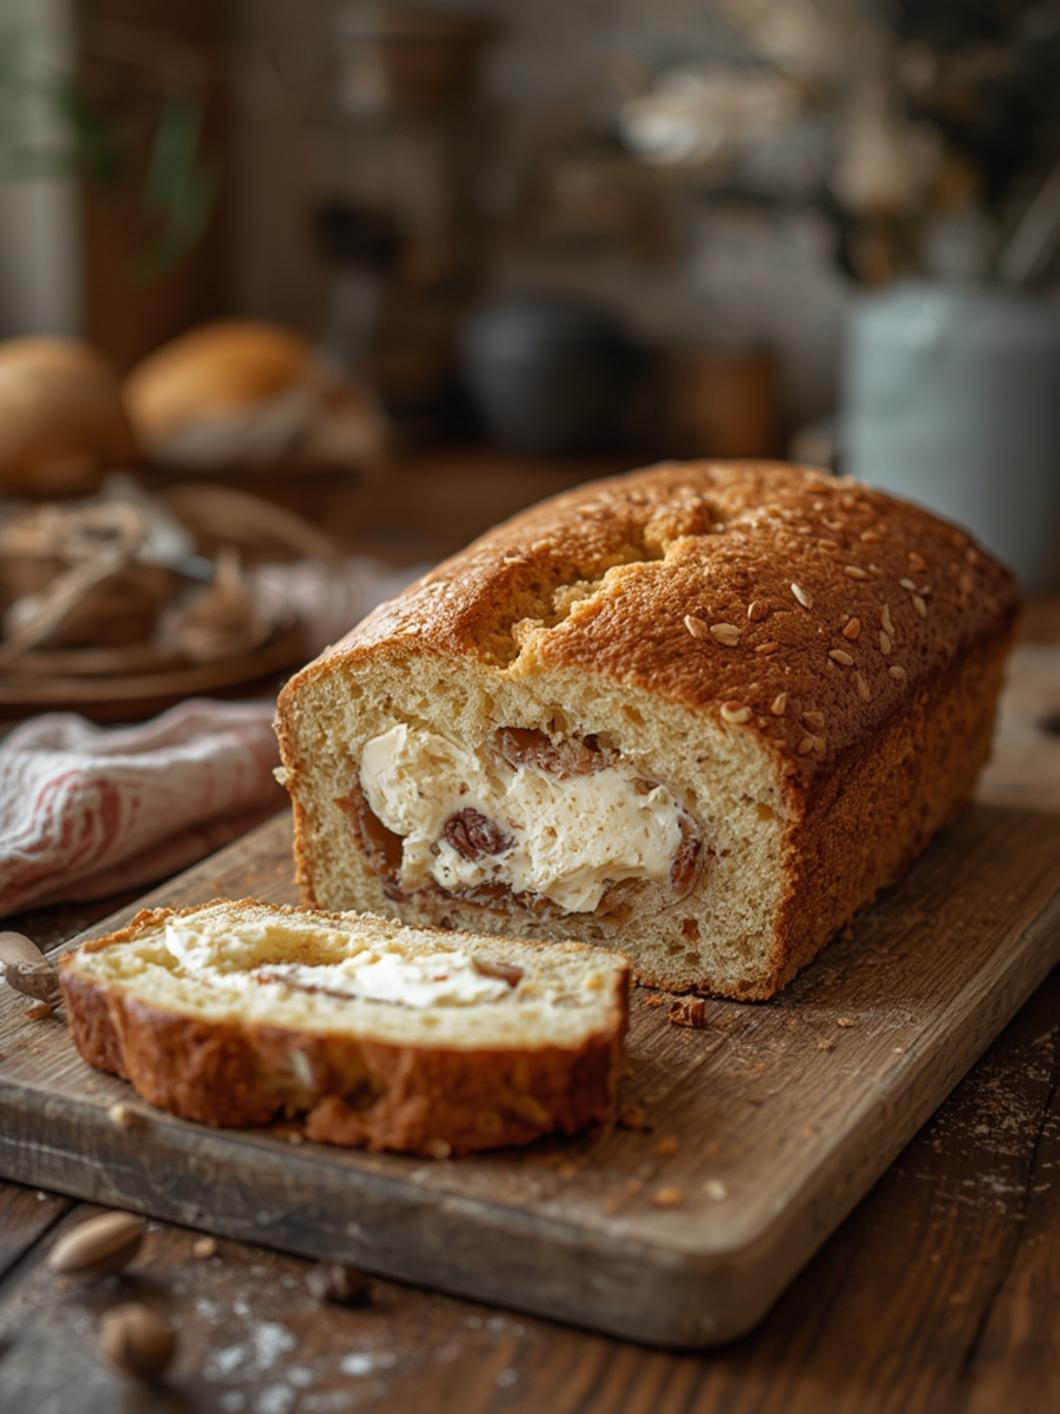
Are you craving something sweet but don’t want to spend hours in the kitchen? If so, this easy ice cream bread recipe is your new best friend! With just two ingredients and minimal effort, you can whip up a loaf of delightful ice cream bread that’s perfect for any occasion. Let’s dive in and discover how simple it is to bake this delicious treat.
Ingredients & Kitchen Tools
– Ingredients
– 2 cups of your favorite ice cream (any flavor)
– 1 ½ cups of self-rising flour
– Kitchen Tools
– Mixing bowl
– Wooden spoon or spatula
– Loaf pan
– Oven
– Measuring cups
Prep & Cook Time
– Prep Time: 10 minutes
– Cook Time: 30-35 minutes
– Total Time: 45-45 minutes
Step-by-Step Instructions
1. Preheat Your Oven: Start by preheating your oven to 350°F (175°C). This ensures that your ice cream bread bakes evenly and achieves that perfect golden crust.
2. Mix the Batter: In a mixing bowl, take your softened ice cream and add the self-rising flour. Stir together gently until just combined. Avoid over-mixing to maintain a light texture.
3. Prepare the Loaf Pan: Grease your loaf pan with cooking spray or line it with parchment paper for easy removal after baking.
4. Transfer the Batter: Pour the batter into the prepared loaf pan, smoothing the top with a spatula for an even finish.
5. Bake: Place the loaf pan in the preheated oven and bake for 30-35 minutes. The bread is done when a toothpick inserted into the center comes out clean.
6. Cool: Once baked, remove the bread from the oven and let it cool in the pan for about 10 minutes before transferring it to a wire rack to cool completely.
7. Slice and Serve: Once cool, slice the ice cream bread and enjoy its delightful flavors! It’s great on its own or spread with a little butter or jam.
Nutritional Benefits or Advantages
This easy ice cream bread contains the goodness of your favorite ice cream, contributing various flavors to the loaf, depending on the brand and flavor chosen. By using self-rising flour, you eliminate the need for extra leavening agents, making it a straightforward and satisfying recipe.
Tips, Variations, or Substitutions
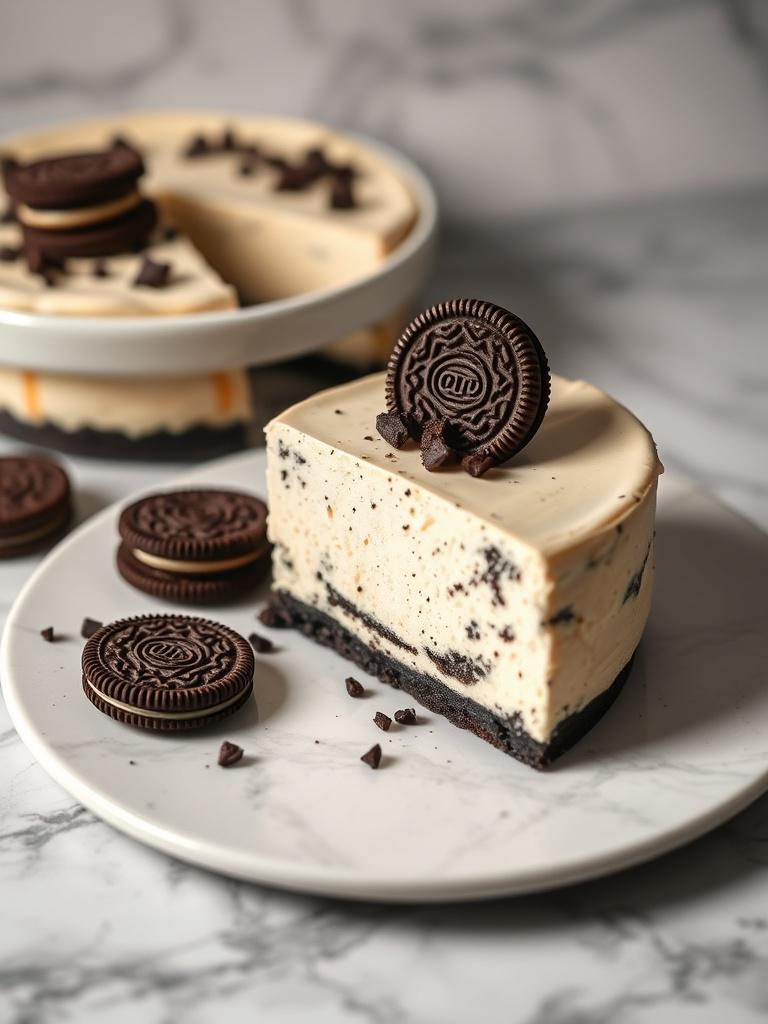
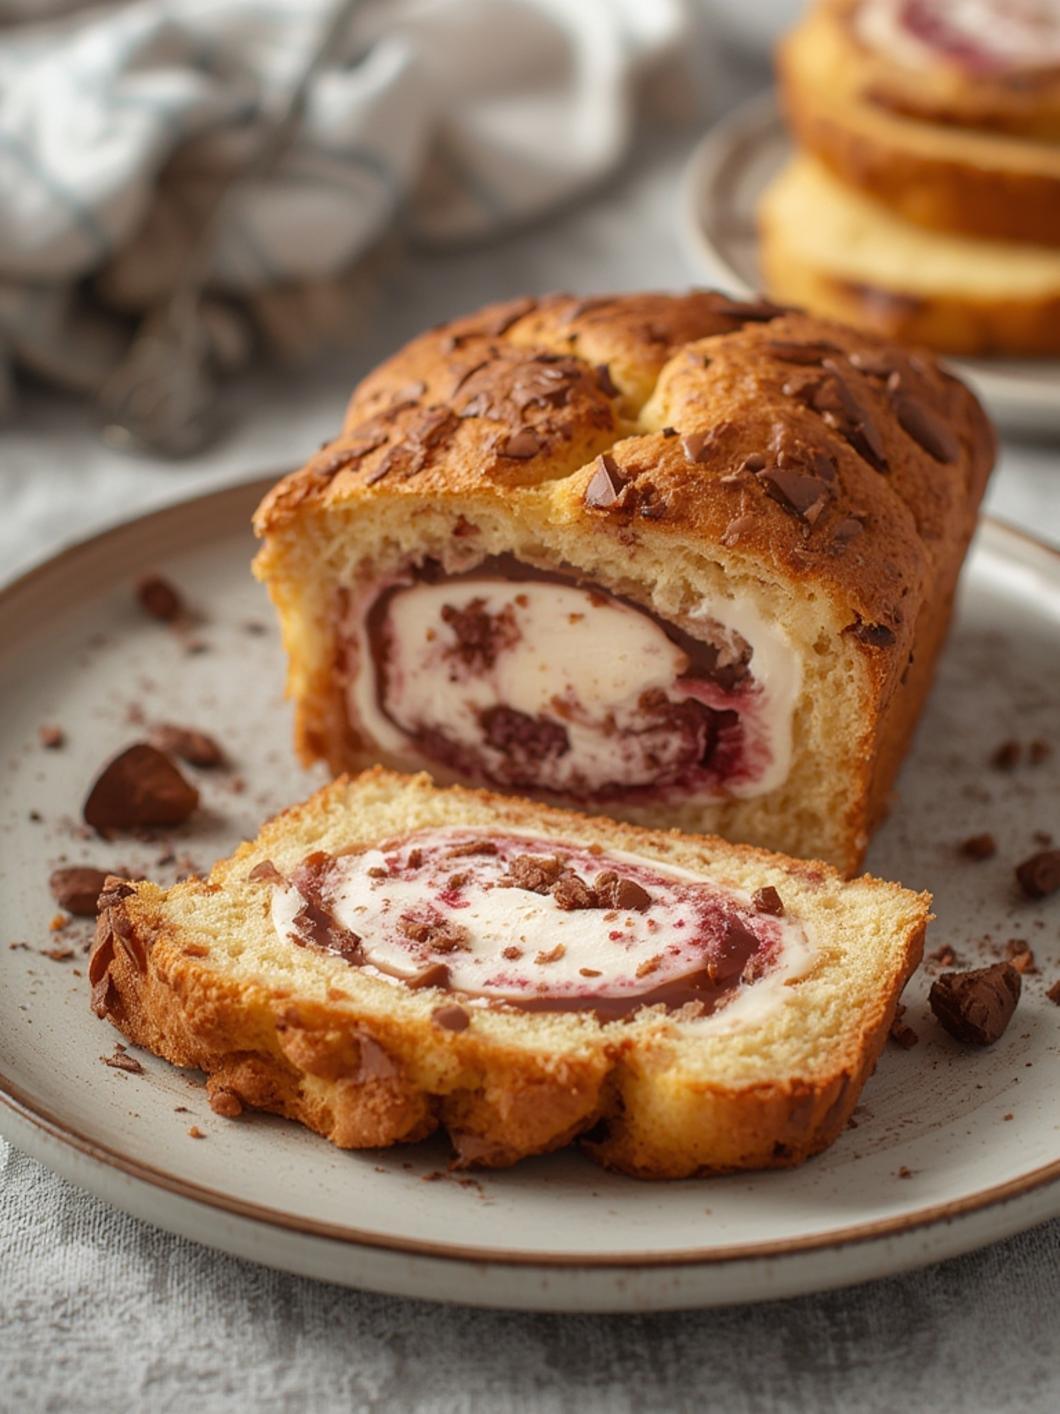
– Flavor Variations: Experiment with different flavors of ice cream! Chocolate, vanilla, or even mint chip can create a unique taste experience.
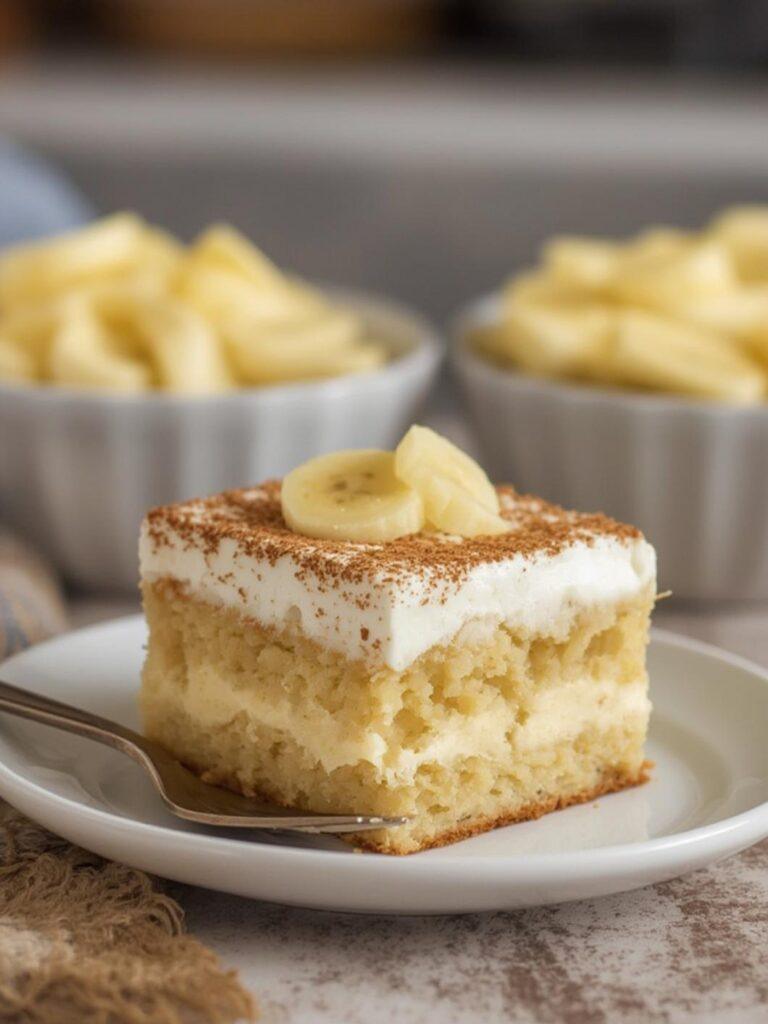
– Add-Ins: Consider folding in chocolate chips, nuts, or berries for added texture and flavor.
– Gluten-Free Option: If you need a gluten-free option, you can use a gluten-free self-rising flour blend.
Common Mistakes to Avoid
– Using Hard Ice Cream: Make sure your ice cream is softened but not melted. Too hard of ice cream will make it difficult to mix.
– Overmixing the Batter: Stir just until the flour is incorporated to avoid dense bread.
Storage and Reheating Tips
To store leftover ice cream bread, wrap it in plastic wrap or aluminum foil and keep it at room temperature for up to 3 days. For longer storage, place it in an airtight container in the fridge for up to a week. To reheat, serve it warm on a microwave-safe plate in 10-15 second intervals until heated through.
Conclusion with call-to-action
Now that you’ve learned how to make this delicious and easy ice cream bread, it’s time to give it a try! Whether you’re entertaining guests or enjoying a cozy night at home, this treat is sure to be a hit. Don’t forget to share your delicious results and variations with us!
FAQs
1. Can I use any type of ice cream?
Yes! Feel free to use any flavor—your choices are endless!
2. Can I add mix-ins like chocolate chips?
Absolutely! Chocolate chips, nuts, and berries can add great flavor and texture.
3. What if I don’t have self-rising flour?
You can make your own by adding 1 ½ teaspoons of baking powder and a pinch of salt to every cup of all-purpose flour.
4. Can I freeze ice cream bread?
Yes, it freezes well! Just wrap it tightly and store in the freezer. Enjoy it when you’re craving something sweet!