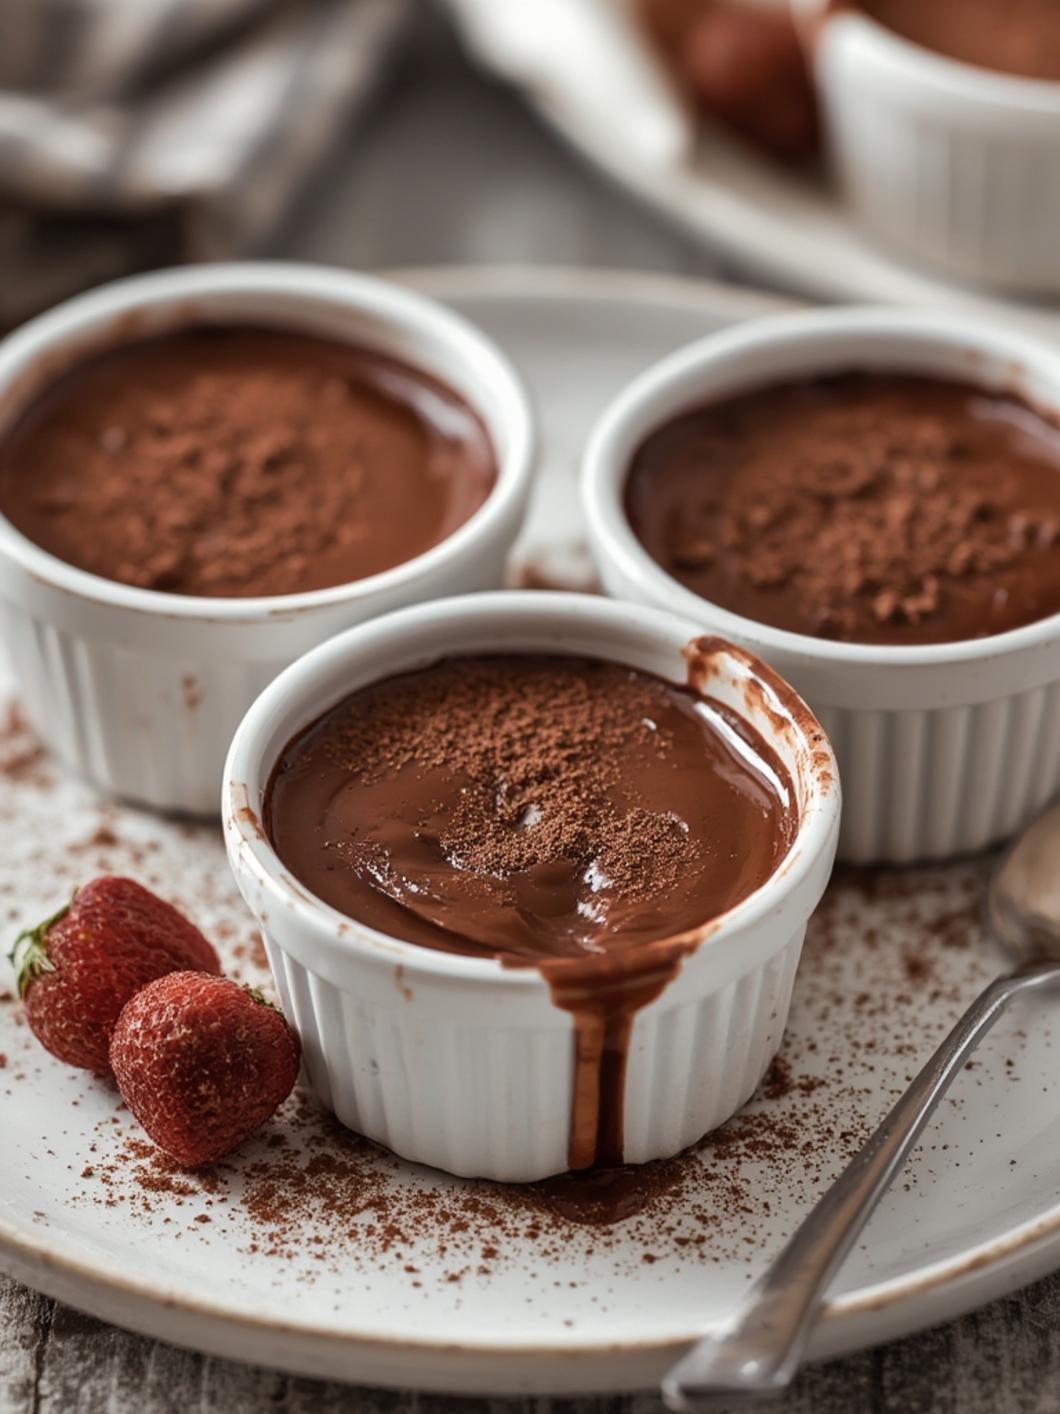
Simple 5-Step Recipe for Chocolate Pudding Pots
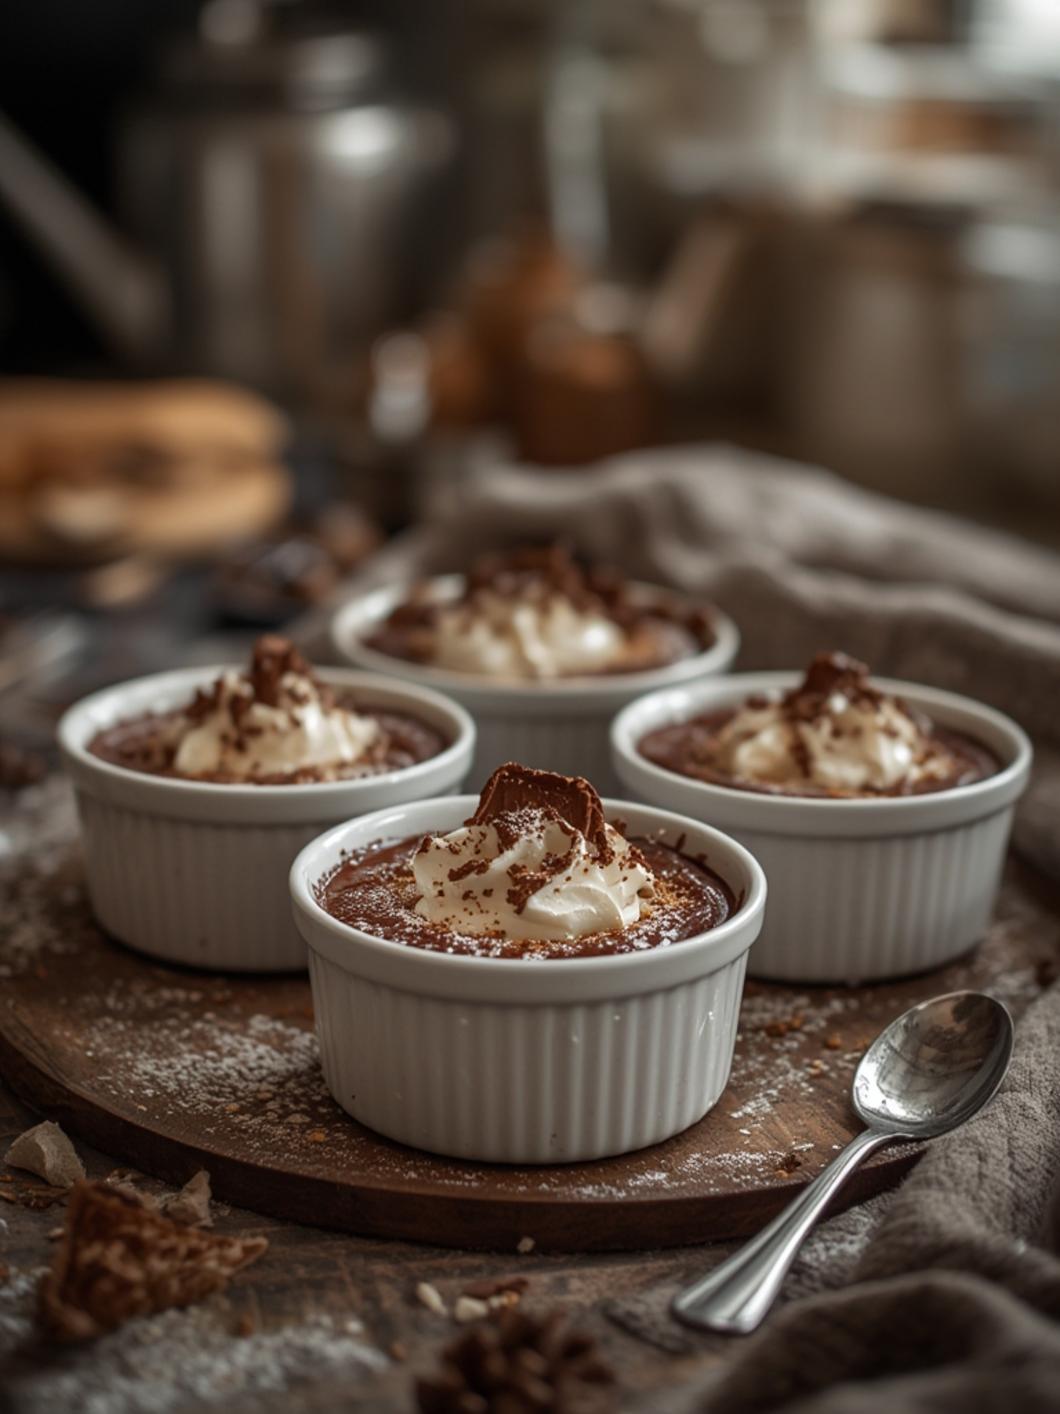
Indulging in homemade desserts has never been easier with this Simple 5-Step Recipe for Chocolate Pudding Pots. A delightfully creamy treat that satisfies any chocolate craving, these chocolate dessert cups are the perfect finale to any meal. Whether you want an impressive dessert to serve at a dinner party or a sweet treat for a cozy night in, these pudding pots are sure to delight. Let’s dive into this quick and luscious recipe that anyone can master!
Ingredients & Kitchen Tools
– Ingredients:
– 2 cups whole milk
– 1/2 cup granulated sugar
– 1/3 cup unsweetened cocoa powder
– 1/4 cup cornstarch
– 1/2 teaspoon salt
– 1 teaspoon vanilla extract
– 2 tablespoons unsalted butter
– Kitchen Tools:
– Medium saucepan
– Whisk
– Measuring cups and spoons
– Heatproof bowls
– Serving cups or bowls
Prep & Cook Time
– Prep Time: 10 minutes
– Cook Time: 10 minutes
– Total Time: 20 minutes
Step-by-Step Instructions
1. Combine Dry Ingredients: In a medium saucepan, combine the granulated sugar, cocoa powder, cornstarch, and salt. Whisk them together until evenly mixed. This is the base for your delectable chocolate pudding pots.
2. Add Milk: Slowly pour in the milk while continually whisking. This will help avoid lumps and ensure a silky smooth texture.
3. Heat Mixture: Place the saucepan over medium heat. Continue stirring the mixture until it comes to a gentle boil. This is where the magic happens—the pudding will start to thicken beautifully.
4. Add Flavorings: Once thickened (about 5–7 minutes), remove the saucepan from heat. Stir in the vanilla extract and butter until fully melted and well combined.
5. Chill & Serve: Pour the pudding into your serving cups or bowls. Allow them to cool slightly before transferring to the refrigerator. Chill for at least 2 hours until set for the ultimate chocolate dessert cups experience!
Nutritional Benefits or Advantages
This chocolate pudding is not just a delightful treat, but it also offers some nutritional benefits. Milk provides calcium and protein, while cocoa powder is rich in antioxidants and can enhance mood. Keep in mind that moderation is key, especially with desserts!
Tips, Variations, or Substitutions
– Dairy-Free Option: You can substitute the whole milk with almond or oat milk for a dairy-free version.
– Flavored Puddings: Try adding a splash of espresso or a pinch of cinnamon to deepen the chocolate flavor.
– Toppings: Top with whipped cream, berries, or crushed nuts for added texture and flavor.
Common Mistakes to Avoid
– Not Whisking Constantly: Make sure to continuously whisk while heating to prevent lumps and burning at the bottom of the pan.
– Ignoring Temperatures: Cooking over too high a heat can cause the mixture to burn; keep it at medium heat for the best results.
Storage and Reheating Tips
Store any leftover chocolate pudding pots in an airtight container in the refrigerator for up to 4 days. If you prefer a warm dessert, you can gently reheat the pudding in the microwave, stirring to ensure even warmth.
Conclusion
Now that you’ve mastered this Simple 5-Step Recipe for Chocolate Pudding Pots, you can enjoy a decadent dessert anytime! These chocolate dessert cups are easy to make and incredibly satisfying. Don’t forget to share your creations with friends and family—they’ll love the rich, creamy goodness that you’ve whipped up.
FAQs
1. Can I use almond milk instead of whole milk?
Yes, almond milk works great as a dairy-free alternative!
2. How long can I keep chocolate pudding pots in the fridge?
You can store them in an airtight container for up to 4 days.
3. Can I add other flavors to the pudding?
Absolutely! Adding espresso or spices like cinnamon can enhance the chocolate flavor.
4. What will happen if I don’t whisk while heating?
Not whisking can lead to lumps and uneven cooking, affecting the pudding’s texture.
Enjoy making these chocolate pudding pots, and let the sweet moments unfold!