Best Way to Make Strawberry Cheesecake Cups at Home
Introduction
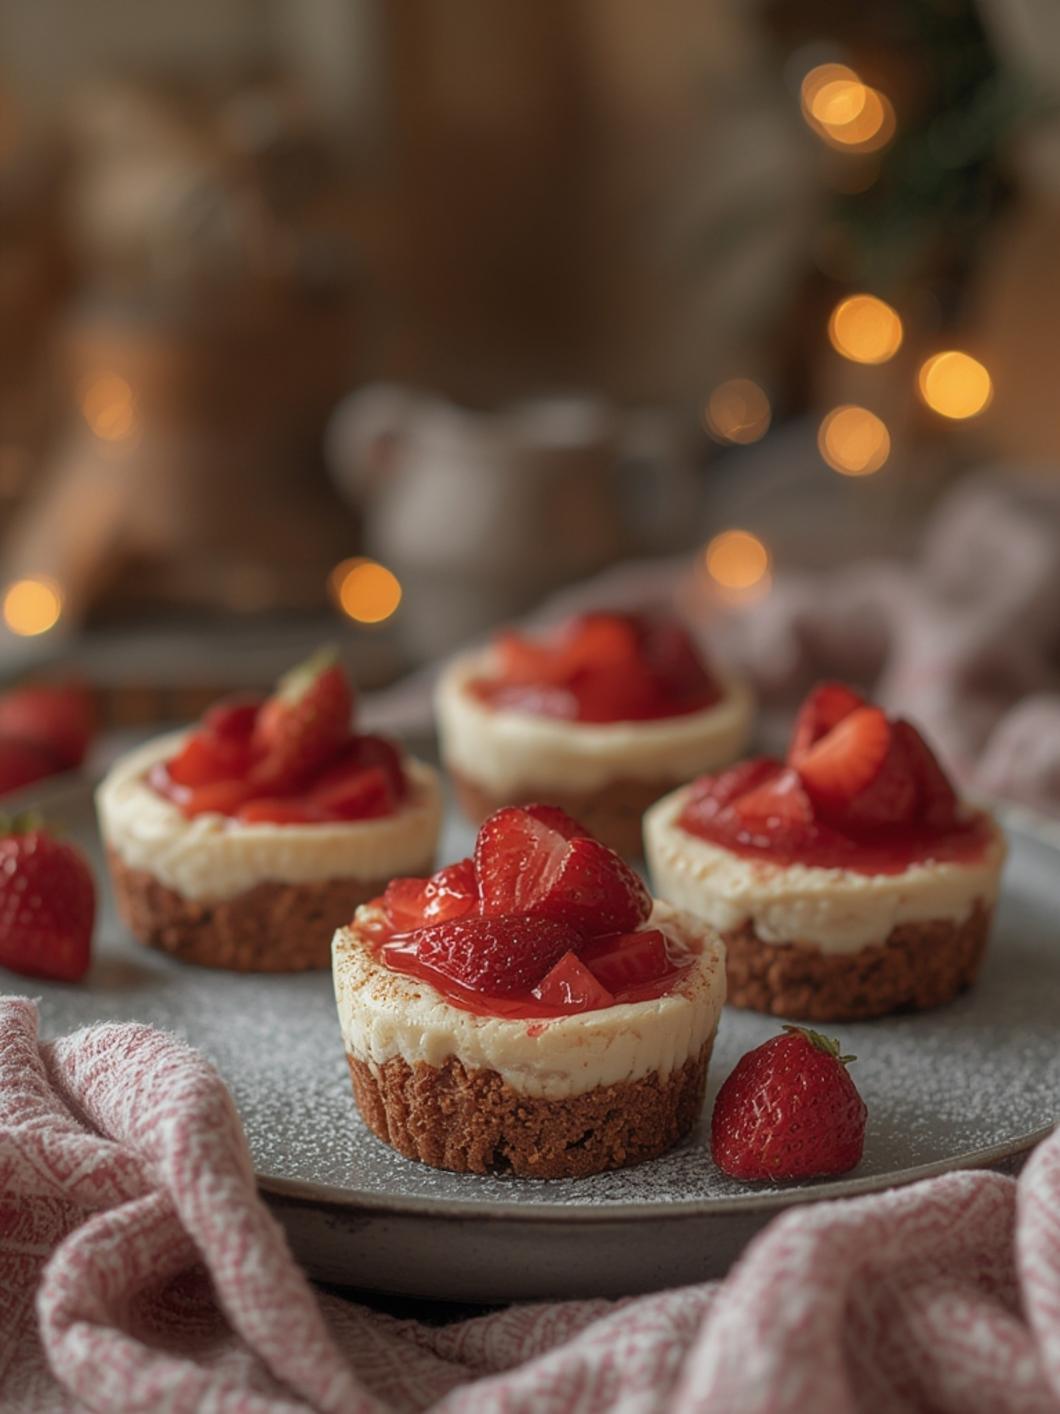
If you’re in search of a delightful dessert that’s both easy to make and impressively tasty, look no further! These Strawberry Cheesecake Cups are not only gorgeous but they also embody the classic flavors of cheesecake without the hassle of baking. Perfect for parties, picnics, or even a cozy night in, these no-bake cheesecake cups capture the essence of spring with their fresh strawberry topping. Let’s dive into how you can whip up these delicious treats right at home!
Ingredients & Kitchen Tools
Ingredients
– 1 cup graham cracker crumbs
– ½ cup unsalted butter, melted
– 2 cups cream cheese, softened
– 1 cup powdered sugar
– 1 teaspoon vanilla extract
– 1 cup heavy whipping cream
– 2 cups fresh strawberries, hulled and sliced
– Additional strawberries for garnish
Kitchen Tools
– Mixing bowls
– Electric mixer
– Dessert cups or jars
– Rubber spatula
– Measuring cups and spoons
Prep & Cook Time
– Prep Time: 20 minutes
– Chill Time: 2 hours
– Total Time: 2 hours and 20 minutes
Step-by-Step Instructions
1. Prepare the Crust: In a mixing bowl, combine the graham cracker crumbs with the melted butter, mixing until well combined. You should achieve a sandy texture that holds together when pressed.
2. Layer the Base: Spoon about 2 tablespoons of the crumb mixture into each of your dessert cups. Use the back of a spoon to firmly press down the crumbs to create a solid base.
3. Make the Cheesecake Filling: In a large bowl, beat the softened cream cheese with an electric mixer until smooth. Gradually add the powdered sugar and vanilla extract, continuing to mix until fully incorporated.
4. Whip the Cream: In another bowl, whip the heavy cream until stiff peaks form. This will add lightness to your cheesecake filling.
5. Combine the Mixtures: Gently fold the whipped cream into the cream cheese mixture using a rubber spatula. Ensure you combine them well without deflating the whipped cream too much.
6. Fill the Cups: Spoon the cheesecake mixture over the crust in each dessert cup, filling them to about ¾ full.
7. Chill: Place the filled cups in the refrigerator for at least 2 hours to set the filling.
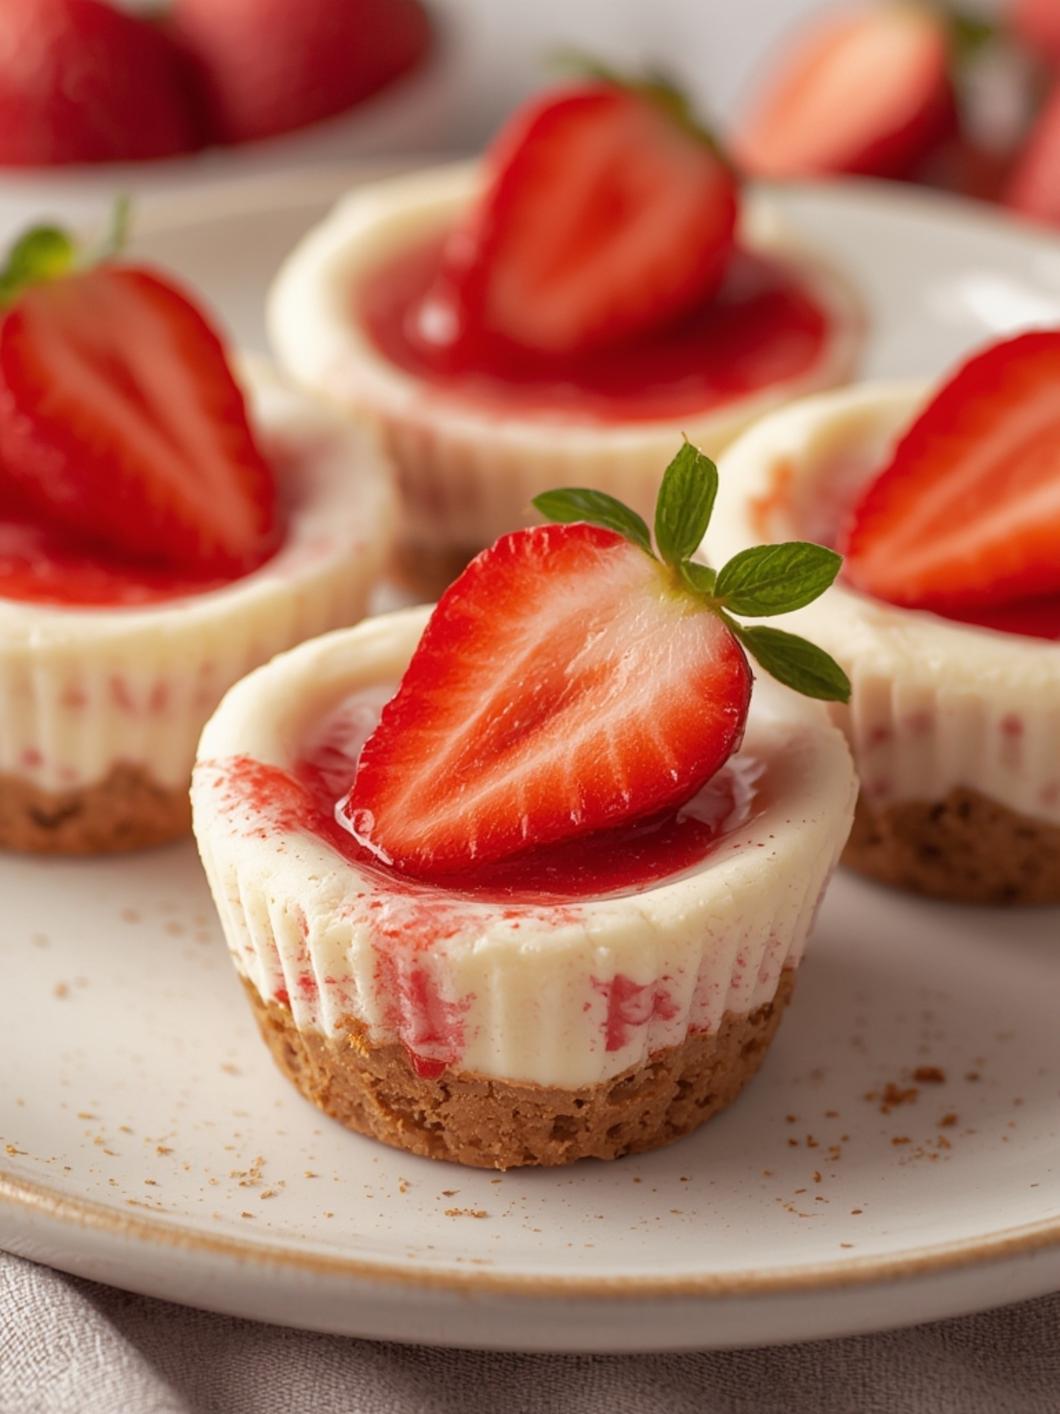
8. Add Strawberries: Just before serving, top each cheesecake cup with sliced strawberries for a fresh burst of flavor and decoration.
Nutritional Benefits or Advantages
Strawberries are not only delicious, but they’re also packed with antioxidants, vitamins (especially vitamin C), and dietary fiber. This recipe incorporates fresh fruit, which elevates the health profile of this delightful dessert while providing a delightful contrast to the creamy cheesecake.
Tips, Variations, or Substitutions
– Variations: Consider adding a layer of chocolate or caramel sauce between the crust and cheesecake for an indulgent twist.
– Substitutions: You can swap the graham crackers with gluten-free cookies if you need a gluten-free option. Also, mascarpone cheese can be used for a richer flavor!
Common Mistakes to Avoid
– Overmixing: When combining the whipped cream and cream cheese, mix gently. Overmixing can lead to a denser filling rather than a light, airy cheesecake.
– Skipping the Chill: Letting the cheesecake cups set in the refrigerator is crucial. Skipping this step may result in a runny filling.
Storage and Reheating Tips
Store any leftover Strawberry Cheesecake Cups in an airtight container in the refrigerator for up to 3 days. They are best enjoyed cold and do not require reheating.
Conclusion
Making Strawberry Cheesecake Cups at home is an effortless way to impress your friends and family. With their creamy filling and fresh topping, these no-bake cheesecake cups are sure to become a favorite in your dessert lineup. Try this recipe today, and don’t forget to share your creations with loved ones!
FAQs
1. Can I use frozen strawberries instead of fresh ones?
Yes, you can! Just remember to thaw and drain them well before topping your cheesecake cups.
2. How do I make the cheesecake filling sweeter?
If you prefer a sweeter filling, simply add more powdered sugar gradually to taste as you mix.
3. Can I prepare these cups in advance?
Absolutely! You can make them a day ahead and store them in the fridge until you’re ready to serve.
4. What can I do if I don’t have graham crackers?
Any type of plain cookie or biscuit can work as a substitute for the crust!