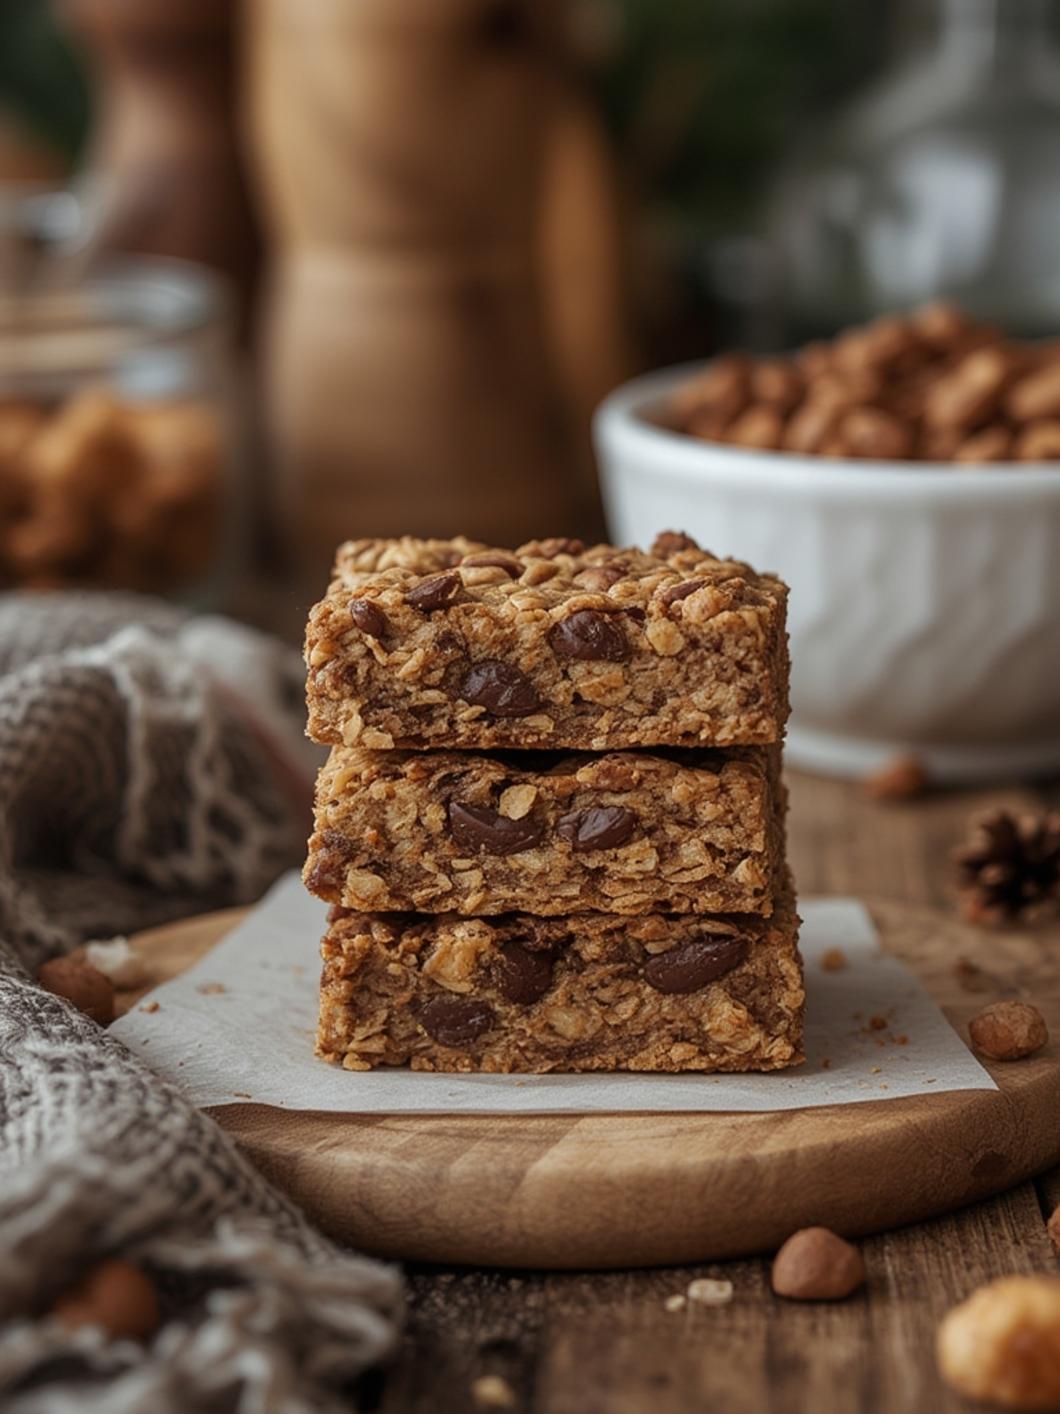
How to Make Granola Bars in 5 Simple Steps
When it comes to healthy snacks, homemade granola bars are a fantastic choice! They’re simple to make, versatile, and you can control exactly what goes into them. Forget the store-bought options packed with additives and sugar—let’s learn how to make fresh granola bars in just five easy steps!
Ingredients & Kitchen Tools
– Ingredients
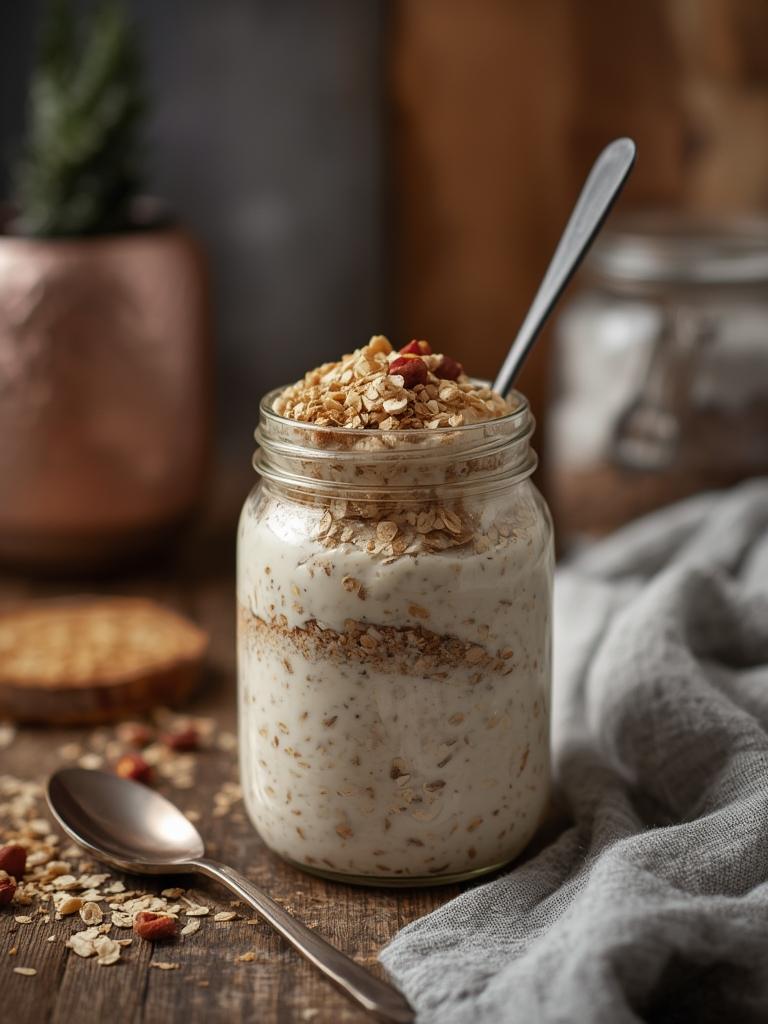
– 2 cups rolled oats
– 1 cup nut or seed butter (such as almond or sunflower)
– 1/2 cup honey or maple syrup
– 1/2 cup nuts, seeds, or dried fruit (your choice!)
– 1/2 teaspoon vanilla extract
– Pinch of salt
– Kitchen Tools
– Mixing bowl
– Wooden spoon or spatula
– 8×8-inch baking dish or parchment paper
– Oven or refrigerator for cooling
Prep & Cook Time
– Prep Time: 10 minutes
– Cook Time: 20 minutes
– Total Time: 30 minutes
Step-by-Step Instructions
1. Preheat the Oven: Begin by preheating your oven to 350°F (175°C). This will ensure that your granola bars bake evenly and get that deliciously crispy texture.
2. Combine Dry Ingredients: In a large mixing bowl, combine the rolled oats, and any nuts or seeds you plan to add. If you’re using dried fruit, you can add that later to avoid it burning.
3. Mix Wet Ingredients: In a separate bowl, stir together the nut or seed butter, honey (or maple syrup), vanilla extract, and a pinch of salt. Mix until smooth. This step is crucial as it binds your granola bars together.
4. Combine Mixtures: Pour the wet mixture into the bowl of dry ingredients. Use a wooden spoon or spatula to thoroughly combine everything. If you want to add dried fruit, fold it in now.
5. Bake: Spread the mixture evenly into your greased or lined baking dish. Press it down firmly to create a solid surface. Bake in your preheated oven for about 20 minutes, or until the edges are golden brown. Allow to cool before cutting into bars.
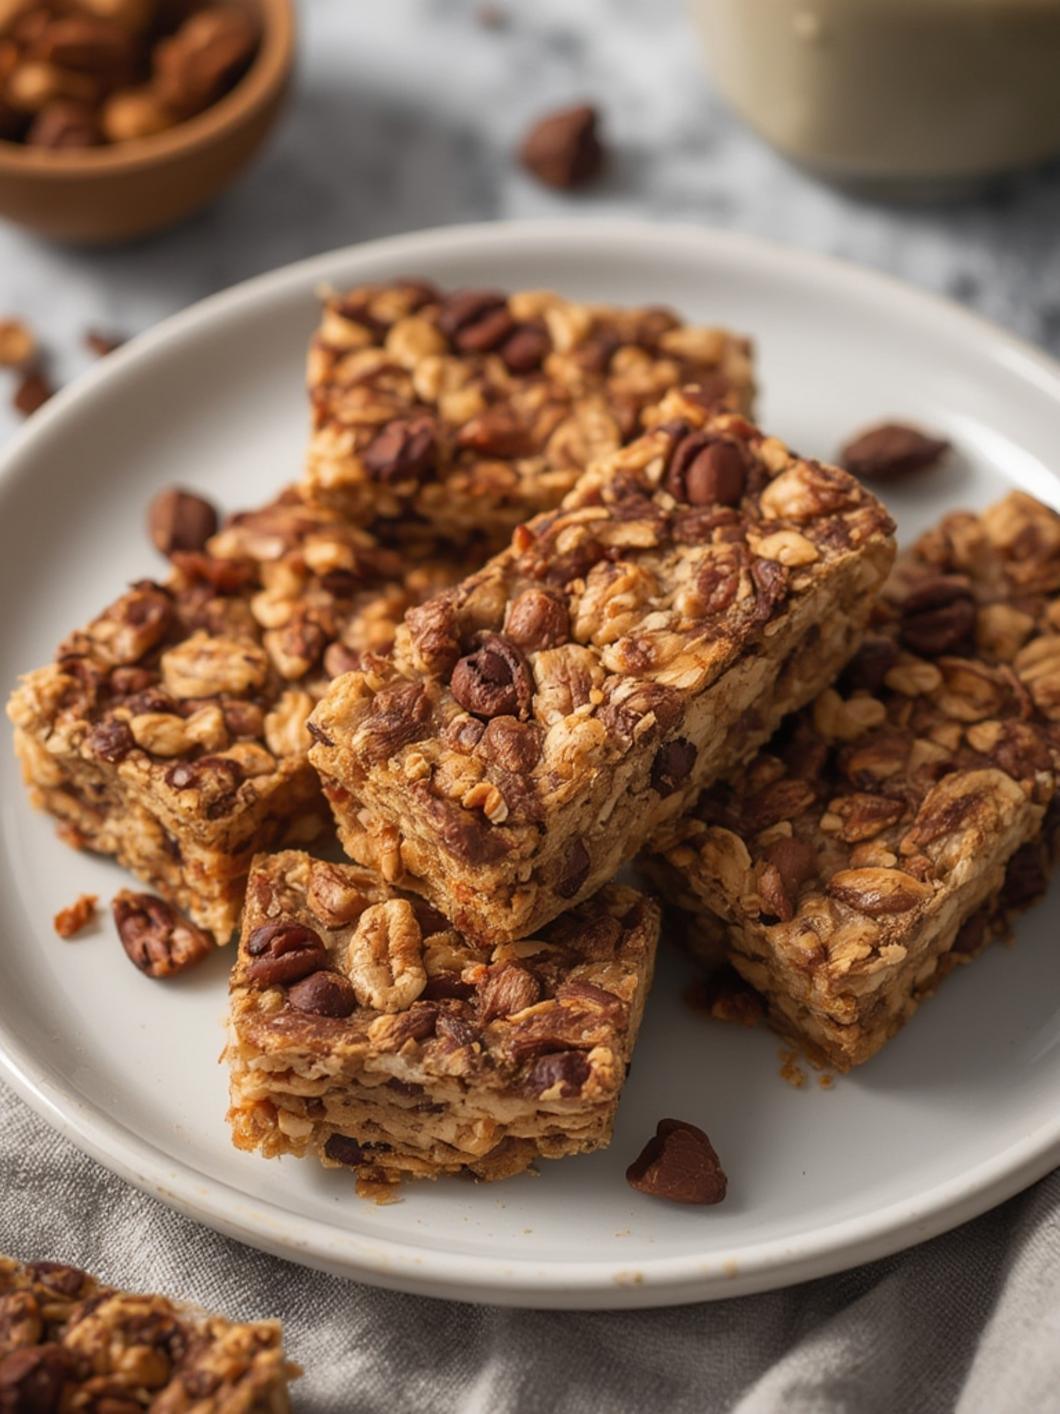
Nutritional Benefits or Advantages
Granola bars are not just tasty; they’re also packed with nutrients! They’re a great source of fiber from the oats, while the nuts and seeds provide healthy fats and protein. Depending on your additions—like dried fruits—they can add vitamins and minerals essential for energy. This makes them the perfect healthy snack option, whether you’re on the go, at work, or enjoying a quiet afternoon at home.
Tips, Variations, or Substitutions
– Add Flavor: Consider adding spices such as cinnamon or nutmeg for an extra flavor kick.
– Different Binds: You can substitute honey with other natural sweeteners like agave syrup or brown rice syrup.
– Nut-Free Options: Use sunflower seed butter or pumpkin seeds to make them nut-free and school-friendly.
Common Mistakes to Avoid
– Overbaking: Keep a close eye on your bars. If they overbake, they will harden and could become difficult to eat!
– Not Pressing Firmly: To prevent your bars from crumbling, make sure to press the mixture down firmly before baking.
– Skipping the Cooling Step: Allow them to cool completely in the pan before cutting; this helps them hold their shape.
Storage and Reheating Tips
Store your granola bars in an airtight container at room temperature for up to a week or refrigerate them for longer freshness (up to two weeks). If you want to enjoy them warm, a quick 10-15 second zap in the microwave will do the trick!
Conclusion with Call-to-Action
Making your own granola bars has never been easier! With just a few simple ingredients and these straightforward steps, you can enjoy nutritious, homemade snacks anytime. Trust us, once you try these delicious bars, you’ll never want to buy the store-bought ones again. Ready to fuel your day? Grab your ingredients and get started!
FAQs
Q1: Can I make granola bars vegan?
Yes! Substitute honey with maple syrup or agave syrup for a fully vegan treat.
Q2: How can I customize my granola bars?
There are endless possibilities! Add coconut flakes, chocolate chips, or various seeds and fruit combinations.
Q3: What should I do if my bars are too crumbly?
You may need to increase the amount of nut butter or sweetener to ensure proper binding.
Q4: Can I freeze granola bars?
Absolutely! Wrap them individually in plastic wrap and store them in the freezer for up to three months.